
Share a session
Send a link to your live terminal and choose who can watch, type, or manage the session.
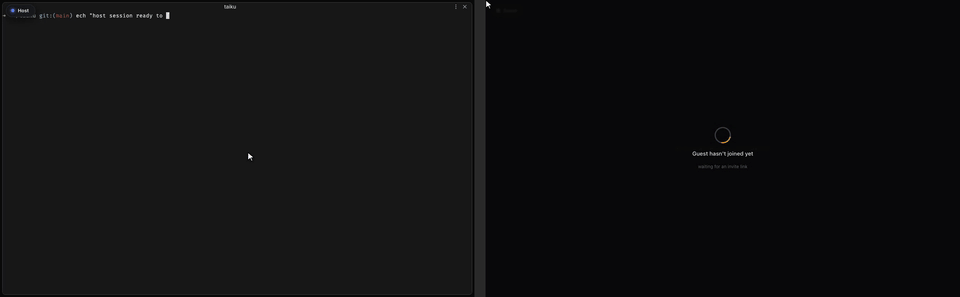
A session is your live terminal, opened from a link — send it to someone and you are both looking at the same thing in real time.
Once more than one person is in a session, see Multiplayer editing for how typing, focus, and presence work.
Share a link
Every session has a link. Copy it, send it through chat or email, and the other person opens it in a browser tab or the desktop app — no install required on their side. They are looking at your live terminal within seconds.
You can also start from a folder on your own machine and turn it into a shared session, so collaborators see the project you are already working in.
The link is the credential, so treat it like one. Send it only to the people you
want in the session, and use a channel that keeps the whole link intact — some
chat apps trim the part after the #, and a trimmed link cannot open the
session.
Common ways people use a shared link:
- Pair debugging. You hit a confusing error, send the link, and your teammate is in your terminal in seconds — typing commands and seeing exactly what you see.
- Live demos. Drop the link in a meeting chat and let everyone watch your terminal in real time.
- Teaching. A student shares with an instructor, who can watch, take over when needed, or peek without interrupting.
- Support. Someone shares their terminal with support, who sees the exact environment and error instead of asking "what does it say when you run…".
Reader, writer, and admin access
By default, everyone who joins can type. That is the right default for pairing and small teams, but you can also hand out links that grant different levels of access. Each access level is its own separate link.
| Access | Can watch | Can type & run | Can manage the session | Best for |
|---|---|---|---|---|
| Reader | Yes | No | No | Audiences, classrooms, broad visibility |
| Writer | Yes | Yes | No | Pairing partners and active collaborators |
| Admin | Yes | Yes | Yes | Yourself and trusted co-hosts |
Readers get a live view of the same session. They can scroll history, follow along, peek at terminals, chat in the sidebar, and see who else is here — but they cannot send keystrokes to any terminal. Writers can type into terminals, open new ones, and interact fully. Admins can do everything a writer can, plus manage the session itself.
Hand out the link that matches the role:
- Conference talks. Share the reader link with the audience so no one accidentally types into your demo.
- Classrooms. Students get the reader link; instructors and TAs get the writer link.
- Incident response. The response team gets a writer link, and a reader link goes to the broader channel for visibility.
Knock to join
You do not have to hand out a link ahead of time. Someone can request to join, and you decide whether to let them in and at what access level — so you can admit a person read-only on the spot without sharing a writer link.
This keeps you in control of who is in the room: admit the people you expect, ignore the ones you do not, and choose whether each one can watch or type.
End or expire a session
A session stays live as long as it is running. Anyone with the link stays in the same room, seeing the same terminals, at the access level you gave them.
- Brief drops reconnect on their own. If your connection blips — a Wi-Fi hiccup or your laptop sleeping for a moment — the session holds for a short window and picks back up where it left off. Clients that stayed open reconnect automatically.
- Ending the session closes it for everyone. When you stop the session, connected people see a notice that it has ended.
- Long absences end it. If you stay disconnected past the short reconnection window, the session is gone. Start a new one and share the new link.
Sessions are private by default. Sharing is always something you choose to do — nobody can reach your terminal until you send a link or admit them.